
The things you need are:
Two Bath Towels
1/4 yard contrasting fabric
A scrap of black broudcloth(for the face)
A sewing machine
black string and any color string that matches the towels you chose
A sewing machine
black string and any color string that matches the towels you chose
These patterns:


After you have gotten necessary supplies and printed out the patterns, you are ready to start the project!
Step 1

take one of the towels and put the other one aside, cut a rectangle from one of the towels 10" by 22"
(25.5 by 56 cm).
Step 2


Fold the rectangle you cut out of the towel in half. Take a bowl (or anything round) and put it in a corner on the folded side (as shown above) and trace it along the corner with a pencil or a marker. Remove the bowl and cut along the mark you made, rounding the corner. Open it up and it should look like this:

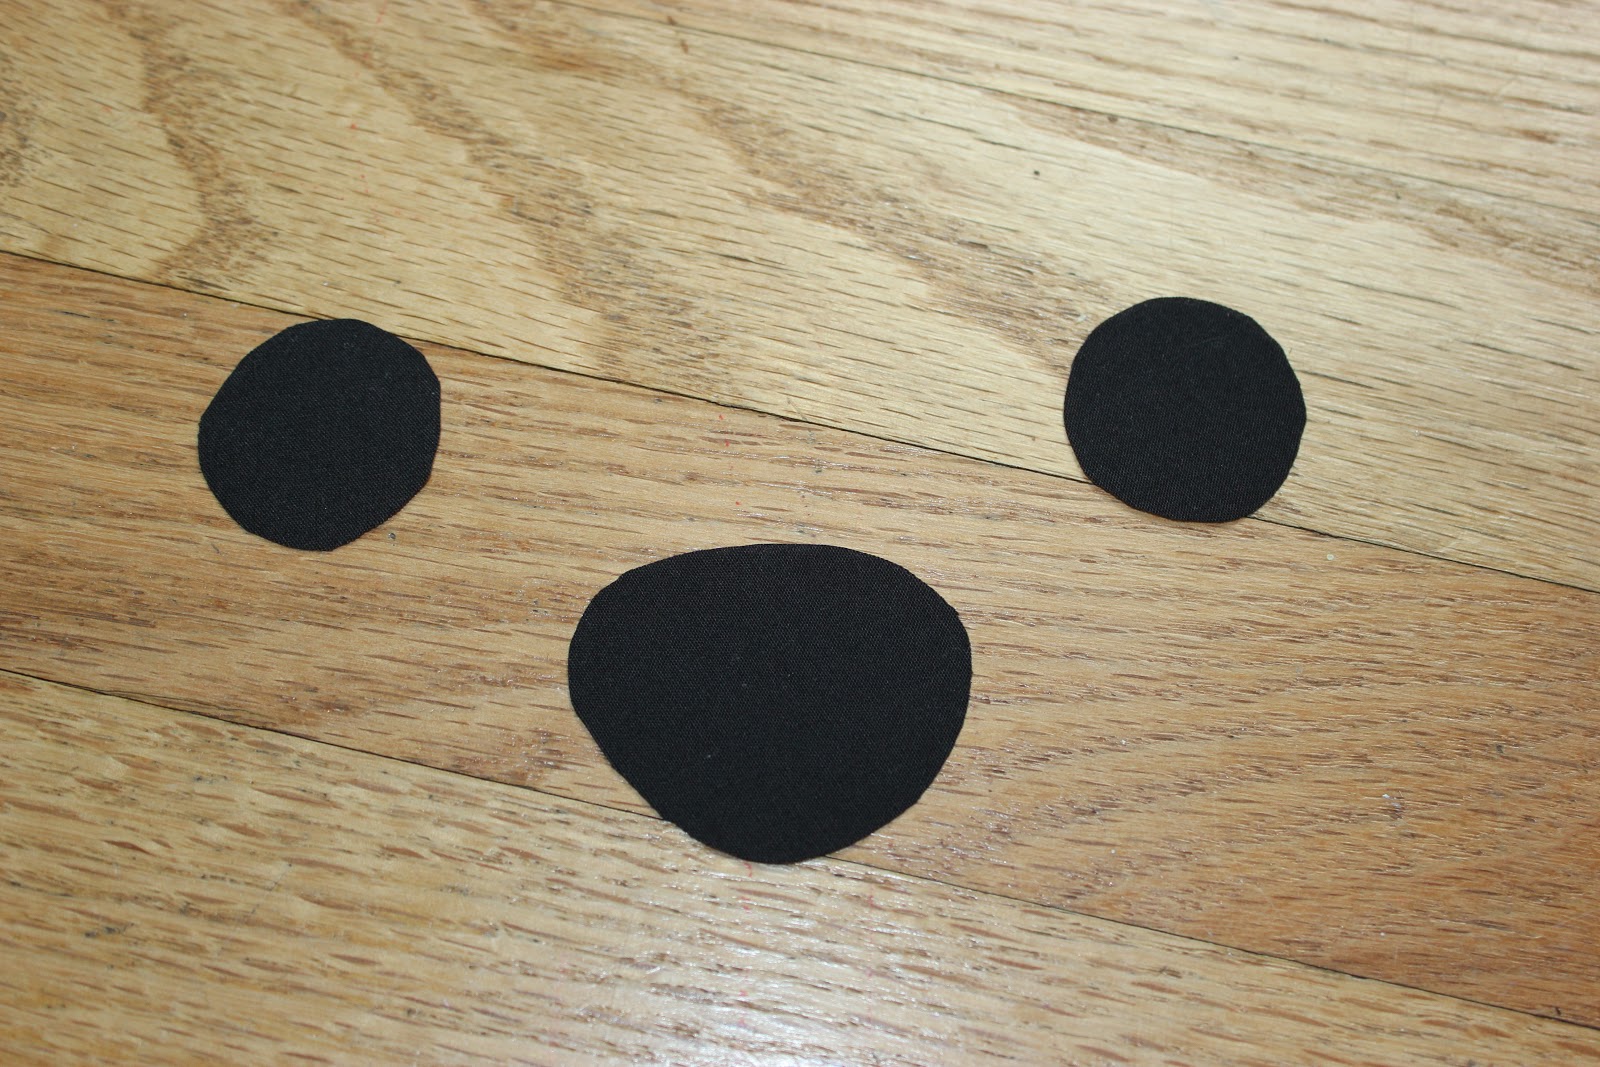
Step 3


Take out your black scrap of fabric and your pattern like the on in the photo. Cut out the pattern for the face, pin each piece to the fabric and cut them out.

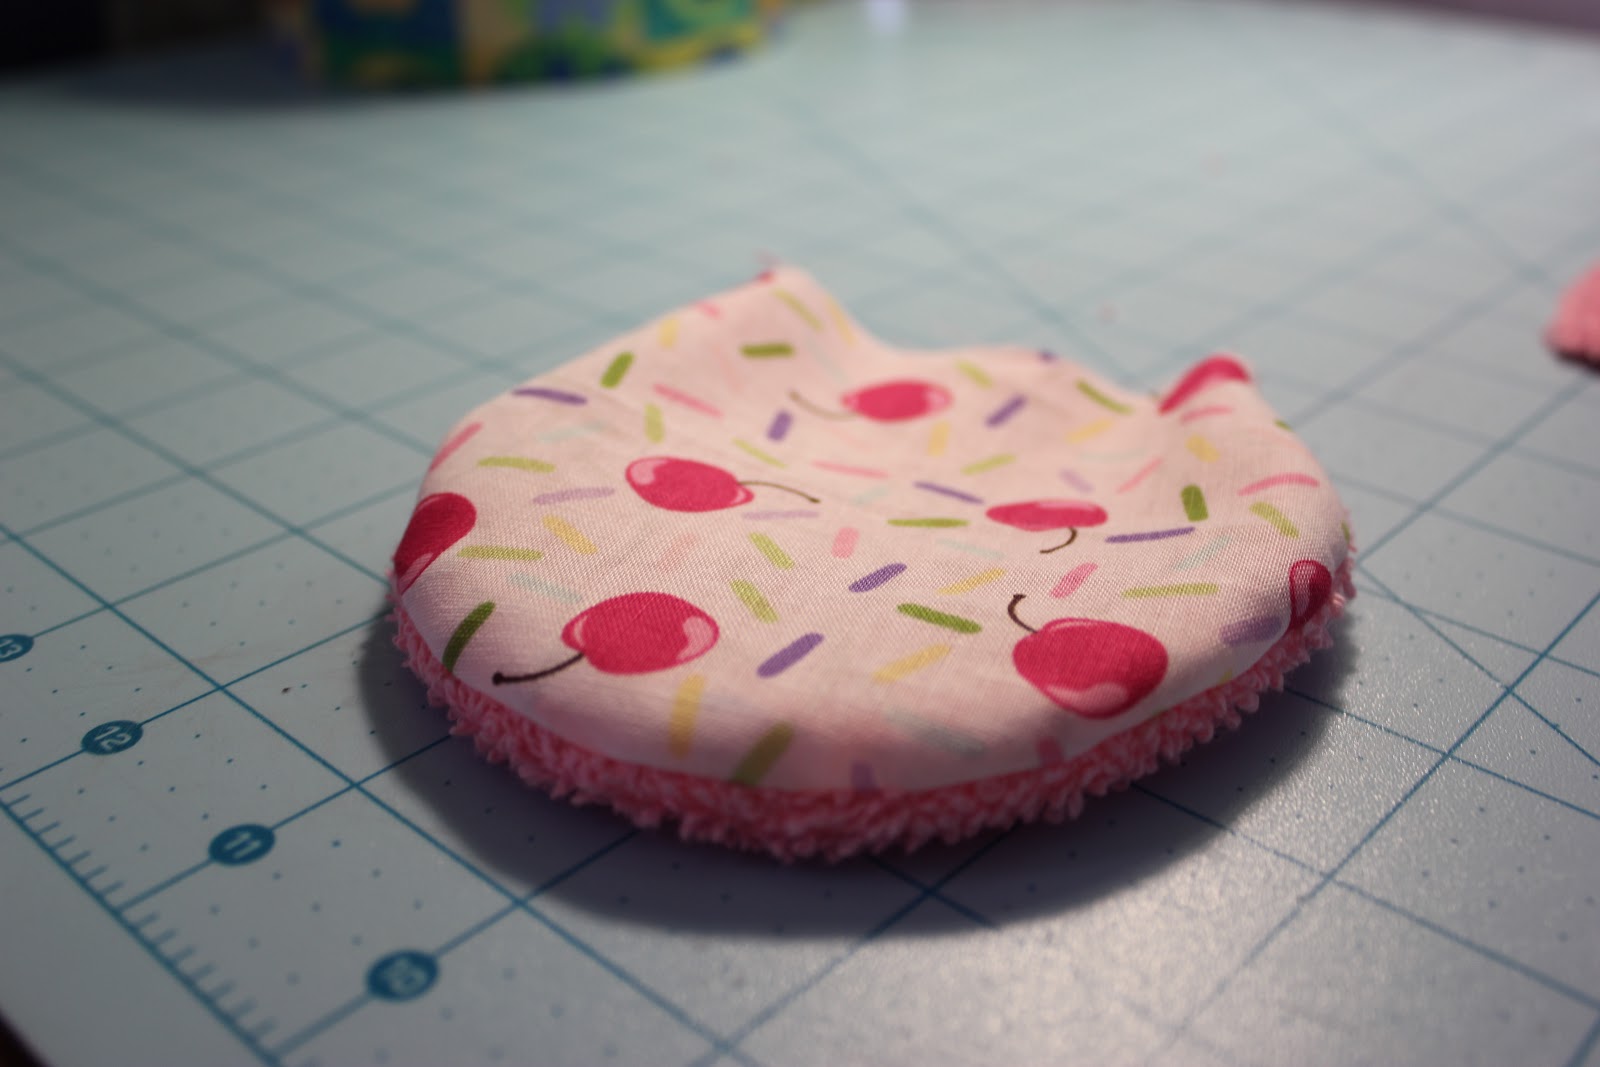
Step 4


First, if you did not cut out your rectangle of fabric on a closed up side, you will have to hem it. Pin the peices to the face where you want them, and use a satin stitch to sew them on.


Add a little mouth for extra cuteness.

Take out your pattern like the one in the photo and cut them out.

Cut two of each pattern out of your pre-cut towel and your contrasting fabric ( as shown above ). Put the pieces for the feet aside.


Pin two ear pieces together, one of towel, and one of contrasting facric. Sew them up and flip them inside out.


Pin the ear pieces slanting like this for the hood piece. Sew them on with a straight stitch and go back over it with a zig-zag stitch. It should look like this when you are done.

Step 7


Step 8
Fold the towel you kept aside in half. Make the piece on the bottom 1" (2.5 cm) longer than the piece on top.


Step 9

Place a pin 8 1/2" (21.5 cm) from the side on each side of the towel.

Make sure there is 10 1/2" (27.8 cm) space between each pin. Open it up leaving the pins in the towel.


Cut a slash between the two pins. Remove the pins.
Step 10


Step 11

Take out the pieces you cut for the feet. Pin them together, sew them up, and flip them inside out.

Step 12 (almost done!)


All Done!
Thank you for reading!
