Tuesday, April 30, 2013

The Puppy Bath Poncho


  I made this cute bath poncho using a pattern I found in a book called "Quick and Easy Sewing Projects by Singer" from 1993. The pattern is very simple, so I decided to put the version I made of it on here. There is A LOT of steps, but they are not very hard.


                                            The things you need are:
                    
                          Two Bath Towels
                    1/4 yard contrasting fabric
             A scrap of black broudcloth(for the face)
                          A sewing machine
    black string and any color string that matches the                            towels you chose
                            These patterns:


After you have gotten necessary supplies and printed out the patterns, you are ready to start the project!
 
Step 1
 
take one of the towels and put the other one aside, cut a rectangle from one of the towels 10" by 22"
(25.5 by 56 cm).
 
Step 2
Fold the rectangle you cut out of the towel in half. Take a bowl (or anything round) and put it in a corner on the folded side (as shown above) and trace it along the corner with a pencil or a marker. Remove the bowl and cut along the mark you made, rounding the corner. Open it up and it should look like this:


                                 Step 3
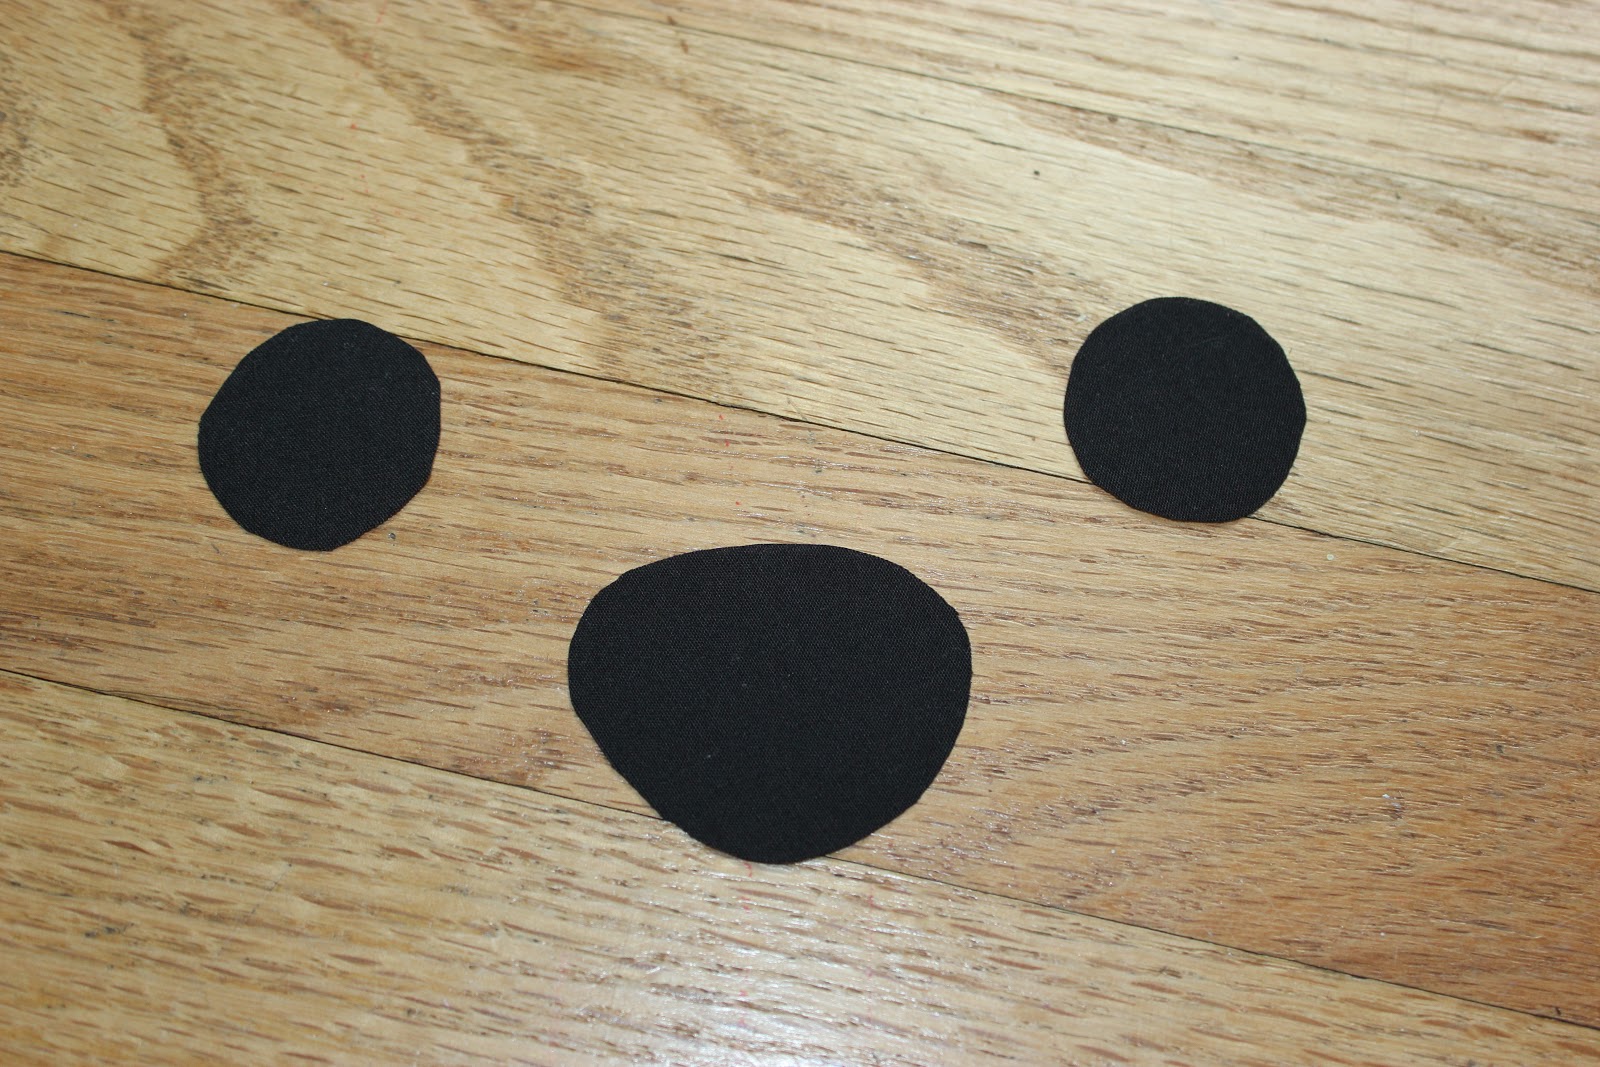
Take out your black scrap of fabric and your pattern like the on in the photo. Cut out the pattern for the face, pin each piece to the fabric and cut them out.
 
Step 4
 
First, if you did not cut out your rectangle of fabric on a closed up side, you will have to hem it. Pin the peices to the face where you want them, and use a satin stitch to sew them on.

 
Add a little mouth for extra cuteness.


                                  Step 5
 
Take out your pattern like the one in the photo and cut them out.
 
Cut two of each pattern out of your pre-cut towel and your contrasting fabric ( as shown above ). Put the pieces for the feet aside.
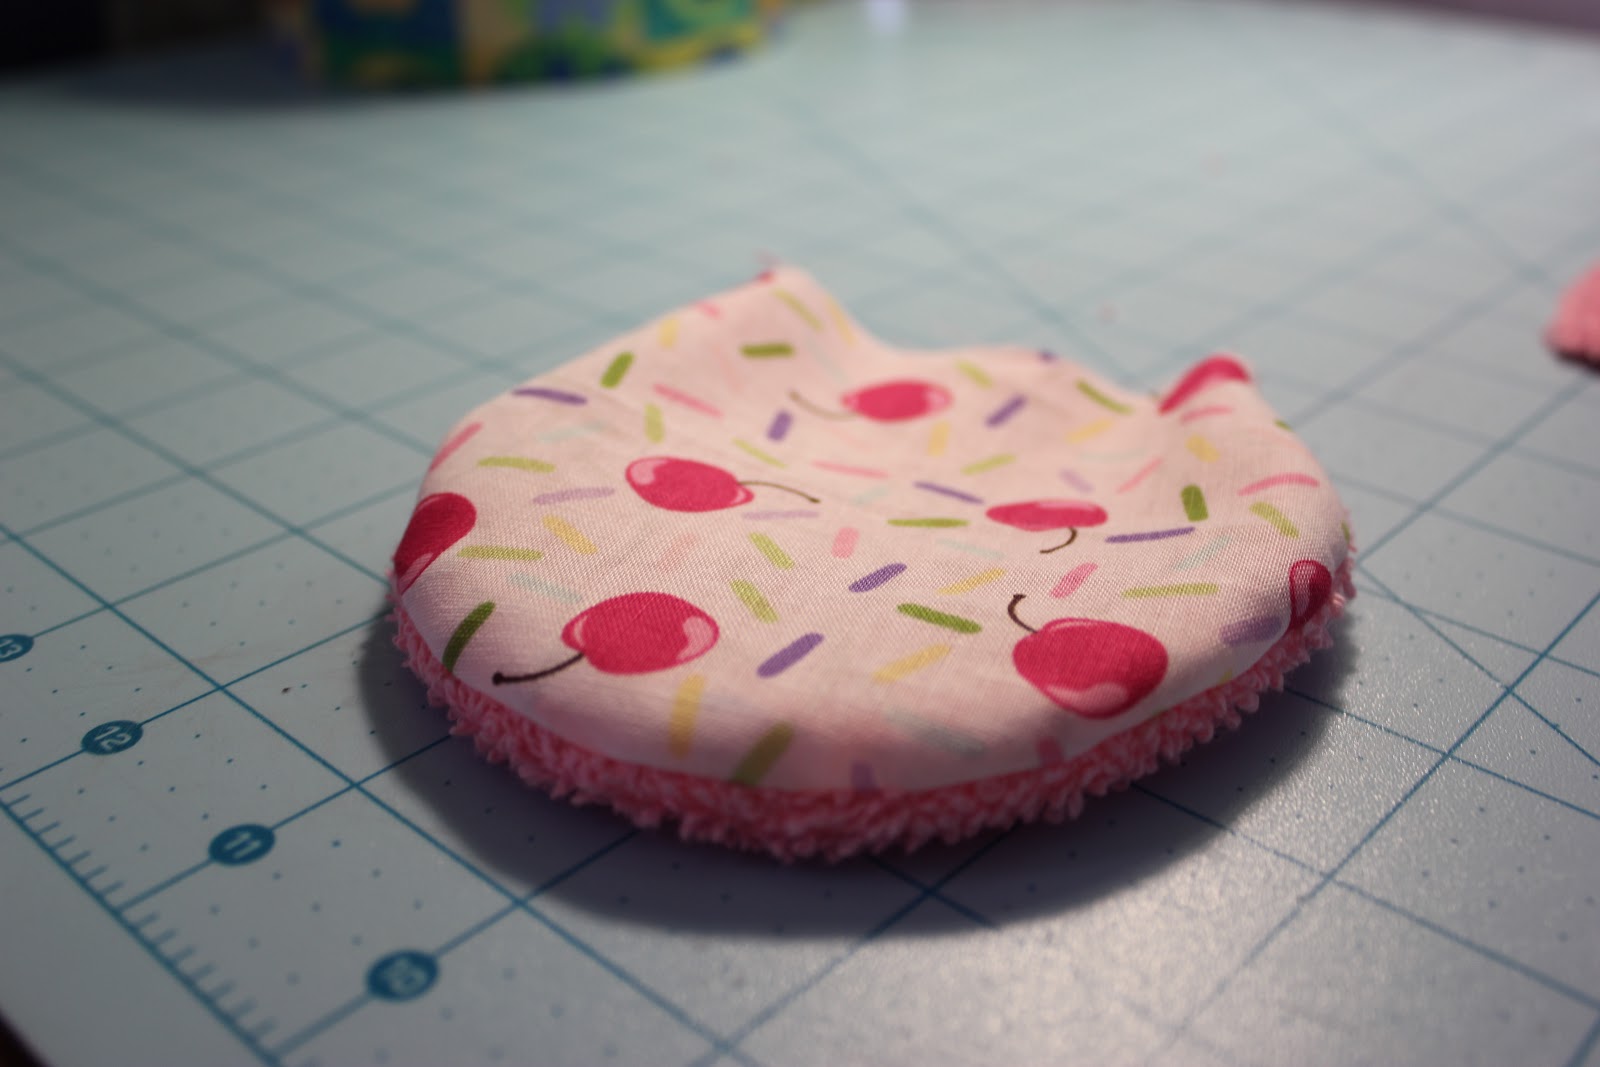
Pin two ear pieces together, one of towel, and one of contrasting facric. Sew them up and flip them inside out.

                                  Step 6
 
Pin the ear pieces slanting like this for the hood piece. Sew them on with a straight stitch and go back over it with a zig-zag stitch. It should look like this when you are done.

 
Step 7
 Fold the hood piece in half and sew it, go over it with a zig-zag stitch. Leave the back open! Flip it inside out.
 
Step 8
 
Fold the towel you kept aside in half. Make the piece on the bottom 1" (2.5 cm) longer than the piece on top.
             
                                  Step 9
Place a pin 8 1/2" (21.5 cm) from the side on each side of the towel.
 
Make sure there is 10 1/2" (27.8 cm) space between each pin. Open it up leaving the pins in the towel.
 
Cut a slash between the two pins. Remove the pins.
 
 
Step 10
 Place the hood in like the photos above and pin it in.
Sew it and go over it with a zig-zag stitch. Don't forget to hem the spot near the neck!

                                Step 11
Take out the pieces you cut for the feet. Pin them together, sew them up, and flip them inside out.
 

Step 12 (almost done!)

               Pin the feet to the towel like this.
        Sew them and go over it with a zig-zag stitch.
 
All Done!
Thank you for reading!

Wednesday, April 24, 2013

The Whale Dress

First of all, I would like to apologize for the months I have not been on... But I'm here now! This adorable dress I made for my sister was made from a pattern I bought at Joannes Fabric Store. The cute whale fabric was bought, surprisingly, at Walmart in the fabric section. The pattern I used is,
Simplicity easy-to-sew 2270 size HH 3,4,5,6.
Judging by the name, this was a very easy little dress to make.


        That's all for now, thank you for reading!

Tuesday, July 3, 2012

Bunny Blanket

First off, sorry for our absence.


This is Candy (named by the toddler), the bunny blanket/stuffed animal thing I made for my baby sister.


I made her using a pattern called "Mccalls Craft Blanket Buddies". We got it at the Goodwill, and it's from around the year 2000, so good luck finding it!
I'll give you the basic run-down on how to make it, though.
  •  At the top of the blanket, where the arms are, bunch it up and sew it to the head.
I'm sorry we couldn't do better, but we would need to scan the (copyrighted) pattern to make it clearer.
Sorry!

Anyway, have fun!
Enjoy!
See you next time!


Syd

Wednesday, June 27, 2012

Froggie

I made my sister Brizee this cute frog for her birthday--

(I don't actually think it has a name. Get on that, Brizee!)
It was fun to make! This is how:


  • Cut out the fabric according to the diagram. (Except the button shape! That literally means a button. Just a reminder...) 
  • Onto one of the body pieces, sew the feet and eye whites. Embroider the mouth. Skip the buttons for now, we'll get to that later!
  • Make the legs. Take a right leg piece and a left leg piece and make the right sides face each other. Sew them together, and then flip it back to right side out. Repeat so you have two legs. Lightly stuff and close them both. 
  • Take both of the body pieces and put them right sides together. Position the legs where you want them. Make sure the rectangles on the legs are, from your current point of view, facing out. Close up the sides (where you should have the legs!) and the bottom, but not the top!
  • Flip back to right side out.
  • Sew the buttons onto the eye whites.
  • Stuff the froggie and close it up.
  • Enjoy!
That one was pretty tough, but just keep trying! Really!
See you next time!

Syd

Monday, June 25, 2012

Pretty Pillows

So... my mommy hated the way the pillows on her couch looked. And what's worse is, all of us agreed. Moss green and brown tartan? No thanks. (Brizee: I concur!) We don't have pictures of the before, but here's after I got to them!


They're double-sided and beautiful! It's easy to give any throw pillow a lovely makeover-
Here's how!
  • Measure the pillows. Add one inch for seam allowance on each side (because most pillows are square.)
  • Cut the fabric to whatever size you need it. You should have two pieces of fabric per pillow. Make sure it's one inch too big on each side.
  • Flip the fabric with the right sides facing each other and sew up three of the sides. Flip the pillowcase right-side out.
  • Put the pillow in it.
  • Sew it closed. (you can hand or machine stitch this. It will show the stitches either way. 
  • Enjoy!
Optional- You can put a zipper on the case instead of sewing it closed.
 That's all for now!

Syd

Sunday, June 24, 2012

Country Rabbits

Country Rabbits!
That's the name of the 1969 McCalls pattern I used to make these cuties.  (Good luck finding it- My mom found it at the Goodwill!) They're so sweet, I couldn't resist putting them here. From left to right--
Baby Bunny, Mommy Bunny, Snuggly Bunny, and Sophie (Guess who the last fancy one belongs to?) (Brizee: Heh.)
I would love to show you what the cover of the pattern looks like, but, you know, copyright. *grumble grumble.*
See you next time!
(And no. I didn't make Baby Bunny's clothes... they're just baby doll clothes. Brizee made Sophie's dress!) (Brizee: Heh!)

Syd